Composting at home turns kitchen scraps and yard waste into nutrient-rich soil. This guide gives clear, practical steps to start and maintain a home composting system.
Why Choose Home Composting
Home composting reduces landfill waste and improves garden soil naturally. It can save money on fertilizers and encourage healthier plants.
Benefits of Home Composting
Compost returns nutrients to soil and improves water retention. It also reduces methane emissions from organic waste sent to landfills.
- Reduces household waste volume.
- Improves soil structure and fertility.
- Supports beneficial soil organisms.
How to Start Home Composting
Starting is straightforward and requires only a few basic decisions. Choose a method that fits your living situation and the volume of organic waste you produce.
Choose a Composting Method
Match the method to your space and needs. Common options work well for most beginners.
- Open pile or heap: best for yards with space and regular yard waste.
- Compost bin: tidy and better for neighborhoods with limited space.
- Worm (vermicomposting) bin: ideal for apartment kitchens and small amounts of food waste.
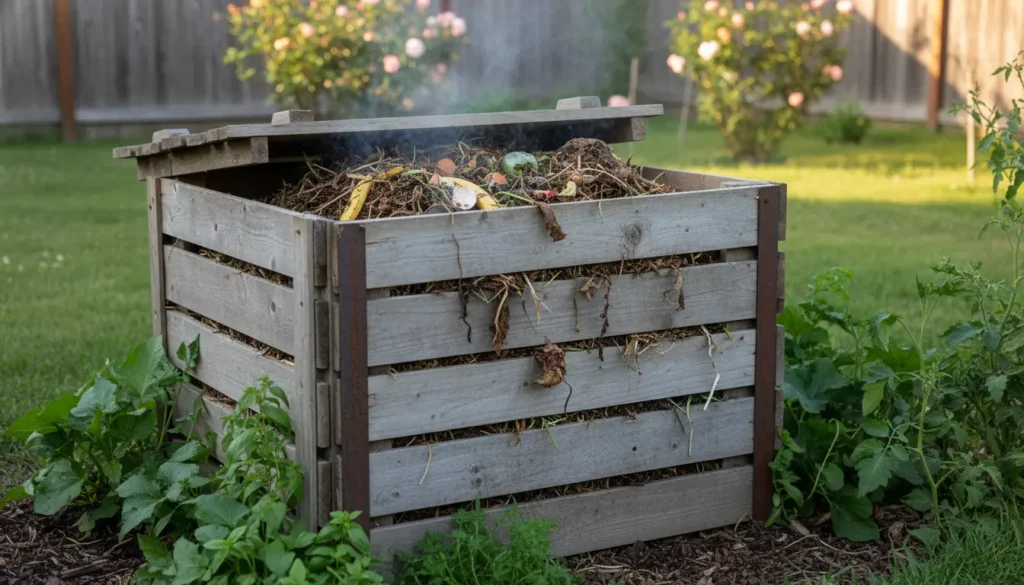
Set Up Your Compost Area
Place a bin or pile on bare soil to allow organisms to access it. Ensure reasonable drainage and partial shade to prevent drying out or overheating.
Materials to Compost
Compost needs a mix of carbon-rich and nitrogen-rich materials. Balance speeds up decomposition and reduces odors.
Greens and Browns
Greens provide nitrogen and include food scraps and fresh lawn clippings. Browns provide carbon and include dry leaves and paper.
- Greens: vegetable peels, fruit scraps, coffee grounds, fresh grass clippings.
- Browns: dry leaves, shredded paper, cardboard, straw, small wood chips.
A good rule of thumb is roughly 2–3 parts browns to 1 part greens by volume. Chop larger items to speed composting.
Common Problems with Home Composting and Fixes
Beginners often encounter a few predictable issues. Most are easy to fix with simple adjustments.
- Smell: Too many greens or wet conditions. Add more browns and turn the pile to aerate.
- Pests: Avoid meat, dairy, and oily foods. Use a closed bin or bury scraps inside the pile.
- Slow decomposition: Pile too dry or compacted. Add water and turn regularly.
Small Case Study: Apartment Home Composting
Example: Sarah lives in a two-bedroom apartment and wanted to reduce food waste. She started a worm bin under her kitchen counter and used a small outdoor tumbler in summer.
After three months, Sarah diverted about 30% of her household waste from the trash. She used the finished compost on balcony pots and noticed healthier plants and reduced fertilizer purchases.
Practical Tips to Maintain Home Composting
Regular maintenance keeps compost active and fast. Follow simple routines to avoid common setbacks.
- Turn or aerate the pile every 1–2 weeks for faster breakdown.
- Monitor moisture: it should feel like a damp sponge, not soggy or bone dry.
- Chop or shred materials to increase surface area and speed decomposition.
- Add finished compost to garden beds or mix with potting soil for planting.
Seasonal Considerations for Home Composting
In cold climates, composting slows but continues. Insulate bins with straw or move bins to a sunnier spot. In hot dry weather, add water and some shade.
Quick Start Checklist for Home Composting
- Choose a bin or method: open pile, tumbler, or worm bin.
- Collect a supply of browns and greens.
- Set up on soil with good drainage and partial shade.
- Start with a small pile and maintain moisture and aeration.
- Harvest finished compost when dark and crumbly, usually 2–6 months.
Home composting is practical for most households and can be scaled to fit apartments or large yards. Start small, learn by doing, and adjust the mix and routine as you gain experience.
For more local tips, check your city or county’s composting resources and community programs. Many municipalities offer free workshops or discounted bins for residents.