Why Composting at Home Matters
Composting at home reduces food waste and creates nutrient-rich soil for gardens and houseplants. It lowers landfill contributions and cuts methane emissions from organic waste.
For many households, composting is an affordable way to close the loop on kitchen scraps and yard trimmings. This guide covers practical steps to begin and maintain a healthy compost pile or bin.
Getting Started with Home Composting
Begin by deciding how much organic waste you produce and where you will keep your compost. Options range from a small kitchen caddy to an outdoor bin or pile.
Consider space, smell control, and access. Even apartment dwellers can compost using a worm bin or community compost drop-off.
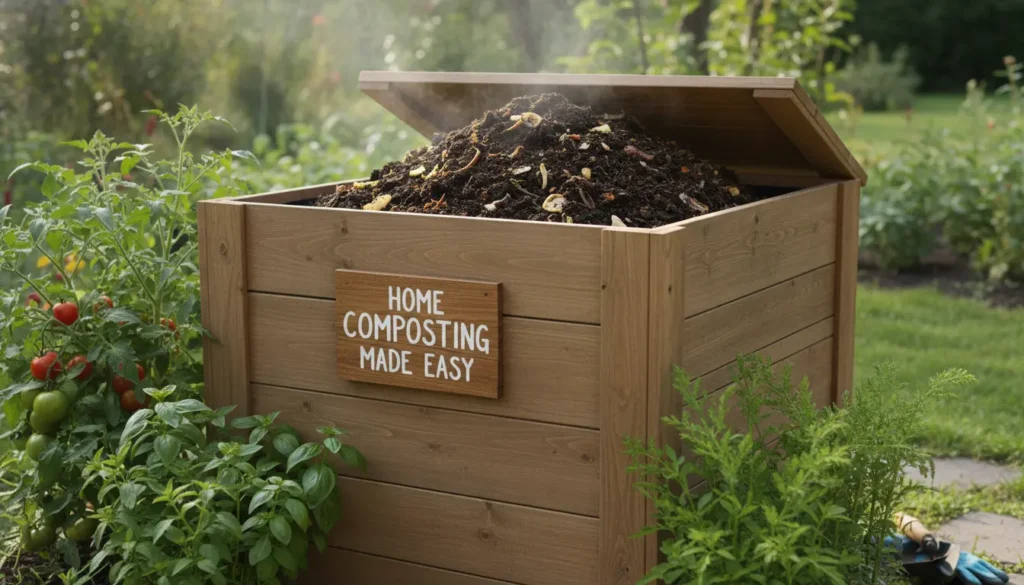
Choosing a Compost System
Match the system to your living situation. Common choices include:
- Tumbler bin: Fast turning and tidy for yards.
- Stationary plastic or wooden bin: Low cost and simple to maintain.
- Open pile: Works for large yards and bulky yard waste.
- Worm (vermicompost) bin: Ideal for apartments and kitchen scraps.
Each system has trade-offs in speed, maintenance, and space needs.
What to Compost at Home
Successful composting balances carbon-rich “browns” and nitrogen-rich “greens.” Aim for roughly 3 parts browns to 1 part greens.
- Greens (nitrogen): Vegetable scraps, fruit peels, coffee grounds, fresh grass clippings.
- Browns (carbon): Dry leaves, straw, shredded paper, cardboard, wood chips.
- Avoid: Meat, dairy, fats, diseased plants, and pet waste from carnivores.
Managing Your Compost Pile
Temperature, moisture, and aeration are the main controls for decomposition. Keep the pile as damp as a wrung-out sponge and turn it periodically.
Turning mixes oxygen in and speeds decomposition. For hot composting, turn every few days. For slower, cold composting, turning once a month is sufficient.
Troubleshooting Common Problems
Smell: A rotten odor indicates too many greens or poor aeration. Add browns and turn the pile.
Pests: Keep meat and oily foods out, use a closed bin, and bury new scraps under a layer of browns.
Too dry: Add water and mix in greens. Too wet: Add dry browns and increase turning.
Practical Steps to Start This Week
- Choose a bin type and place it on well-draining soil or a balcony.
- Collect kitchen scraps in a small covered container or jar with a tight lid.
- Create a 6–12 inch base of browns in the bin.
- Add scraps in small layers, alternating greens and browns.
- Moisten and turn the pile weekly until materials break down to dark crumbly compost.
Keep a small stash of dry browns nearby for quick layering and odor control.
Tools and Supplies That Help
You don’t need expensive gear. Useful items include a garden fork, a bin or tumbler, a kitchen caddy, and coarse bedding like straw or shredded cardboard.
Optional additions: a compost thermometer for hot composting, or worm bedding for vermicomposting.
Food scraps and yard waste make up about 30 percent of household trash by weight. Composting can cut that amount and return nutrients to soil.
Real-World Example: A Small Balcony Compost Case Study
Case: Sarah, a city renter, started a worm bin on her balcony to manage kitchen scraps. She used a 10-liter bin with ventilation holes and bedding made from shredded paper and coconut coir.
Outcome: Within eight weeks she had fine, dark vermicompost used for potted herbs. Her kitchen trash volume dropped by nearly half, and the plants grew noticeably healthier.
Using Finished Compost
Compost is ready when it is dark, crumbly, and earthy-smelling. Use it as a soil amendment, top dressing for lawns, or potting mix ingredient.
Apply a 1–3 inch layer to garden beds and mix into the topsoil. For potted plants, blend one part compost with two parts potting soil.
Small-Scale Cost and Time Expectations
Startup costs can be zero to modest. A DIY bin costs little, while tumblers and worm bins are affordable online or at garden centers.
Time commitment: 10–30 minutes per week for feeding and turning, depending on system and scale.
Quick Checklist Before You Begin
- Choose a bin and location.
- Collect basic tools: caddy, browns supply, garden fork.
- Learn what to compost and what to avoid.
- Commit to weekly check-ins for the first month.
Composting at home is a low-effort, high-return habit that benefits gardens, reduces waste, and teaches sustainable habits. Start small, observe changes, and adjust your routine to your available space and time.