Why composting at home matters
Composting at home turns kitchen and yard waste into useful soil amendment. It reduces landfill waste and improves garden soil without chemical inputs.
For beginners, home composting is practical and scalable. You can start with a small bin and expand as you learn.
How to start composting at home: first steps
Choose a container or location that fits your space. Composting works in a backyard pile, a tumbling bin, or even a small indoor worm bin.
Follow these initial steps to get going quickly.
- Pick a spot: partial shade, good drainage, and easy access.
- Select a method: cold pile, hot compost, tumbler, or vermicompost.
- Gather materials: a mix of green (nitrogen) and brown (carbon) inputs.
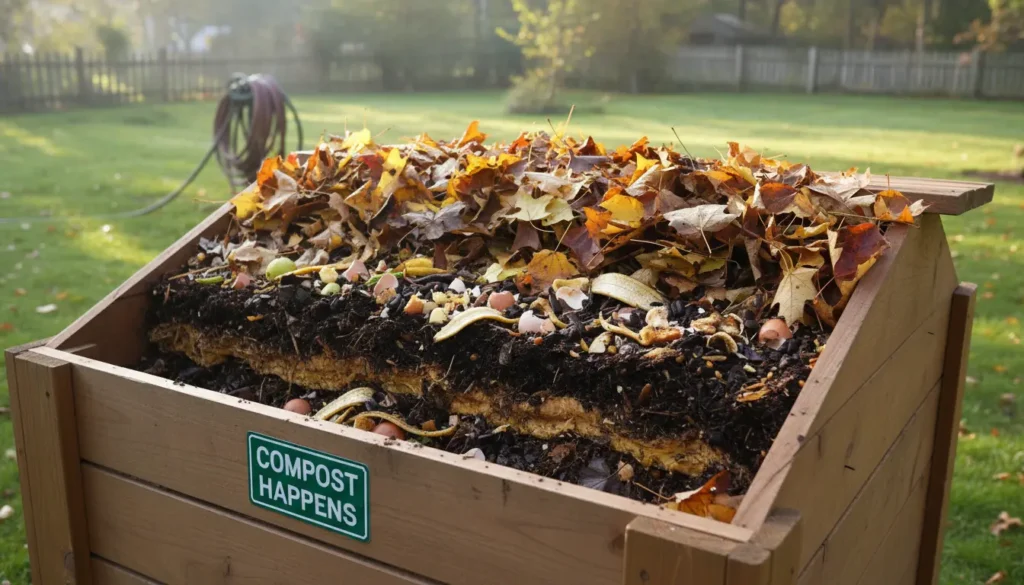
- Start layering: alternate greens and browns in 2–4 inch layers.
Choosing a composting method for home
Match the method to your lifestyle and space. Each approach has pros and cons.
- Cold pile: Low effort, slow decomposition, good for yard waste.
- Hot compost: Faster, needs regular turning and proper carbon-to-nitrogen balance.
- Tumbler: Contained and easy to turn, ideal for small yards.
- Vermicompost: Uses worms, great indoors or on balconies for kitchen scraps.
What to add and avoid when composting at home
Knowing what to include helps maintain balance and avoid odors. A good rule is to maintain roughly a 25–30:1 carbon-to-nitrogen ratio for hot composting, though casual home piles are forgiving.
Good materials to add
- Greens (nitrogen): vegetable scraps, coffee grounds, grass clippings.
- Browns (carbon): dry leaves, straw, shredded paper, cardboard.
- Small amounts of garden trimmings and wood chips (in moderation).
Materials to avoid
- Meat, dairy, and oily foods (attract pests and cause smells).
- Diseased plants and invasive weeds with seeds.
- Pet waste from carnivores and synthetic chemicals.
Maintaining your home compost
Maintenance is simple: monitor moisture, aerate periodically, and balance greens and browns. These three checks prevent most problems.
- Moisture: Compost should feel like a wrung-out sponge. Add water if dry, or more browns if soggy.
- Aeration: Turn or tumble weekly for hot compost; every few weeks for cold piles.
- Balance: If the pile smells, add more browns; if it is slow, add greens and turn.
Troubleshooting common issues
Home composters often run into a few predictable issues. Quick fixes keep the system healthy.
- Bad odors: Add dry leaves or shredded paper and aerate the pile.
- Slow decomposition: Chop materials smaller and increase turning frequency.
- Too wet: Mix in coarse browns like straw or dry leaves and improve drainage.
Composting can reduce household organic waste by up to 30 percent and returns nutrients to soil, improving water retention and plant health.
Harvesting and using home compost
Finished compost is dark, crumbly, and earthy-smelling. It typically takes 2–12 months depending on method and conditions.
Use finished compost as a soil top dressing, mixed into potting soil, or added to garden beds. Apply a 1–3 inch layer around plants or work it into the topsoil.
Signs compost is ready
- Uniform dark color and crumbly texture.
- No recognizable food scraps or leaves.
- Earthy smell rather than ammonia or rotten odors.
Small real-world case study
Case: A two-person household in Portland started a 60-gallon tumbler to compost kitchen scraps. They balanced coffee grounds and vegetable peels with shredded cardboard and dry leaves collected in autumn.
Within four months of regular tumbling and occasional moisture checks, they produced dark compost used to top up potted plants and improve raised beds. The household reported reducing weekly trash by about one bag and noticing lusher container plants within a season.
Practical tips and examples
- Example mix: 3 parts shredded leaves (browns) to 1 part kitchen scraps (greens).
- Particle size: Chop or shred materials to speed breakdown; 1–2 inch pieces work well.
- Seasonal tip: In winter, insulate the pile with a tarp or extra browns to maintain heat.
Final checklist to start composting at home
- Choose method and location.
- Gather greens and browns.
- Layer materials and maintain moisture.
- Turn or aerate regularly.
- Harvest when finished and use in the garden.
Composting at home is a low-cost, high-impact practice. Start small, observe the process, and adjust based on what your pile needs. With routine attention, you can turn everyday waste into a valuable resource for your garden.